


By Reagan Gerrity, Staff Reporter
Step 1.
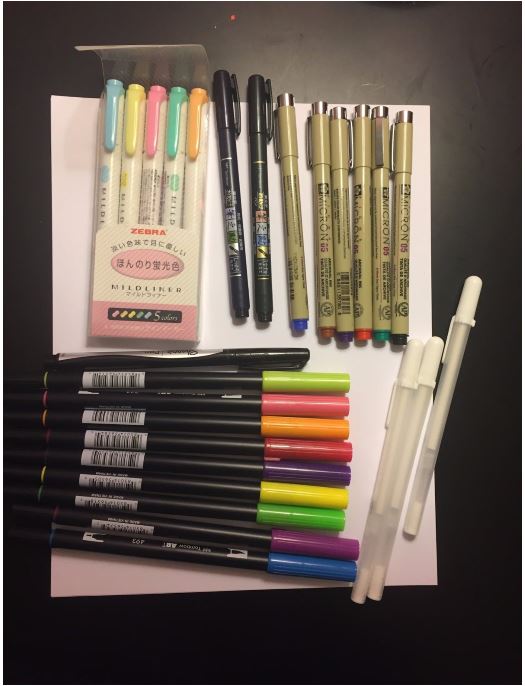
Gather of all of your supplies: paper, pens, pencils, and whatever other creative tool you would like to include in your card.
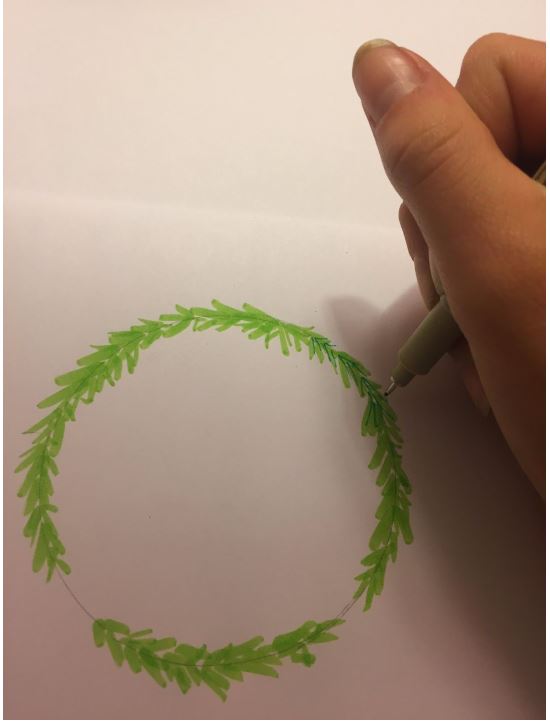
Step 2.
Grab anything circular and trace a circle on the center of the page. Then with any green marker, make small strokes around the circle to imitate leaves on a wreath. I’ve also taken a smaller marker in a darker green color to add more definition. Be sure to leave a space or two open for a later step.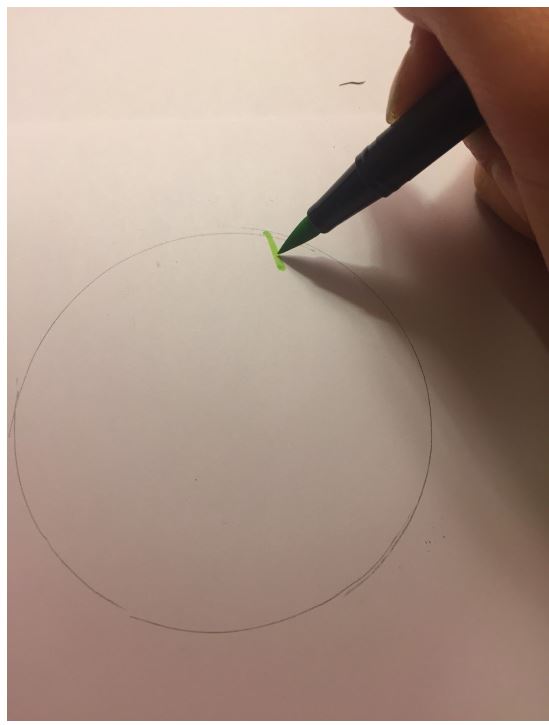
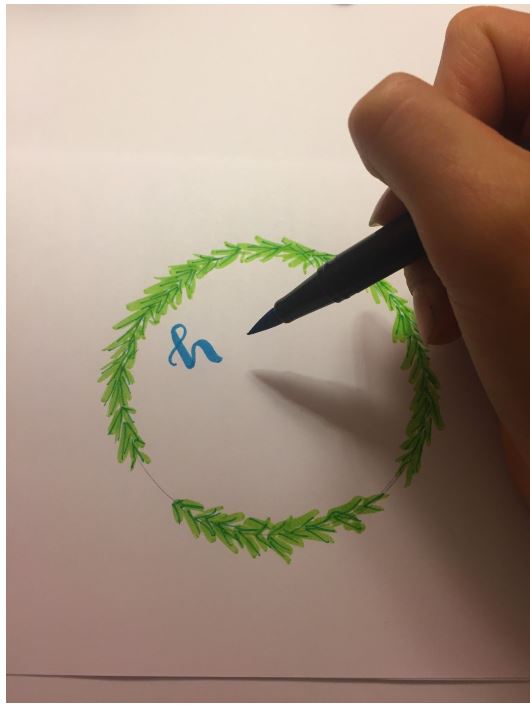
Step 3.
Choose the greeting you would like to use and prepare to write on the center of the card. This is the focal point.
Tip: to achieve fancy lettering there are two options: Purchase a brush pen at any craft store. On down strokes put pressure on the tip and on up strokes release. Or you can use a normal pen and begin with standard cursive letters. Then with the pen, bold in the down strokes and leave up strokes as is.
Step 4.
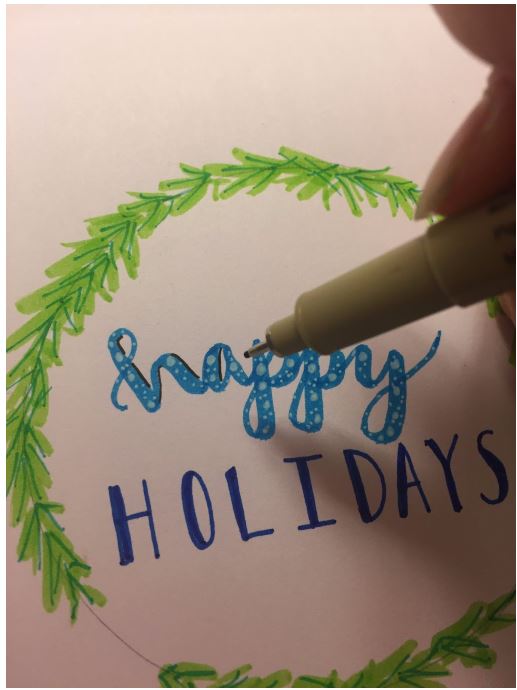
Add small white dots in the letters to imitate the look of snow.
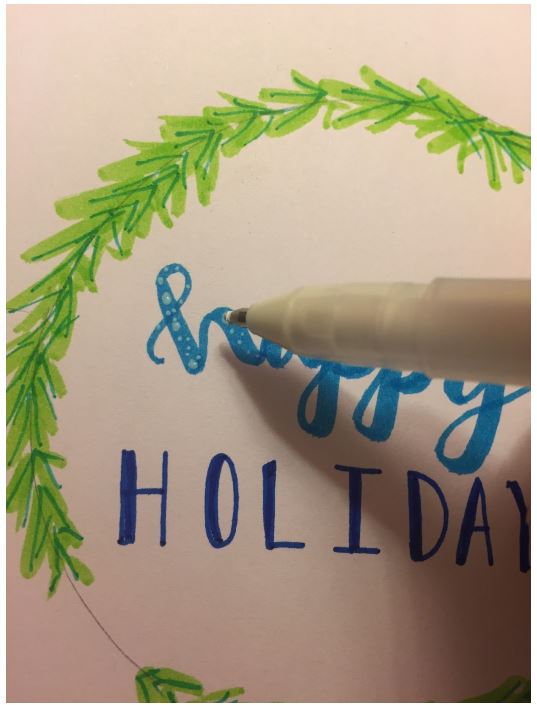

Step 5.
Add a black outline to only the right side of the letters. This gives the lettering more definition and a 3D look.
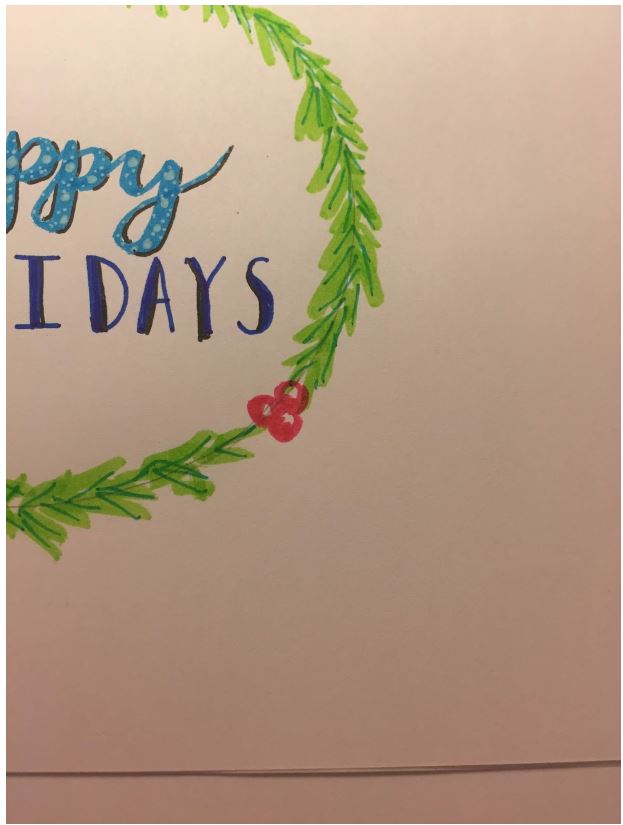
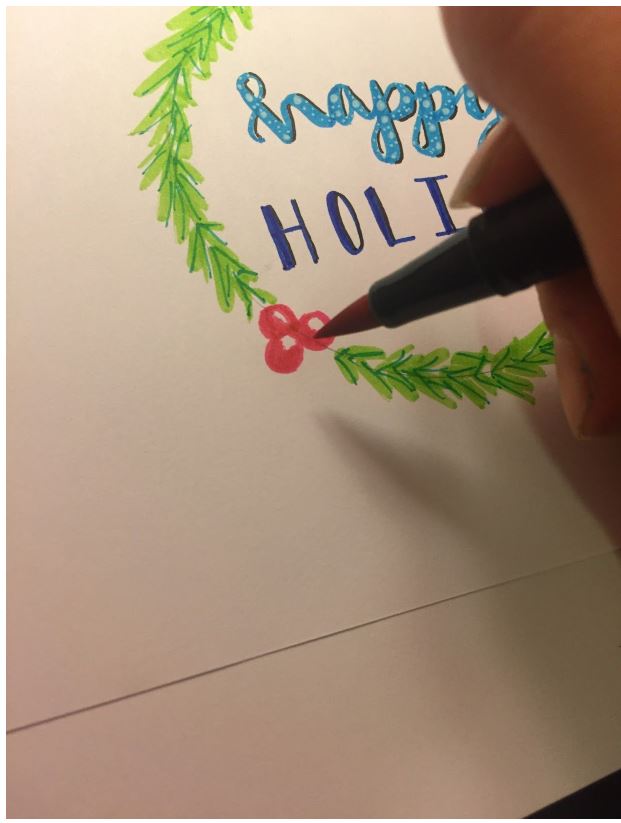
Step 6.
Add holly berries to the spaces we left empty earlier in the wreath. I also suggest adding them in any places where this is no doodles or lettering.
Tip: leave a little spot at the top with no color to give the berry shape.
Step 7.
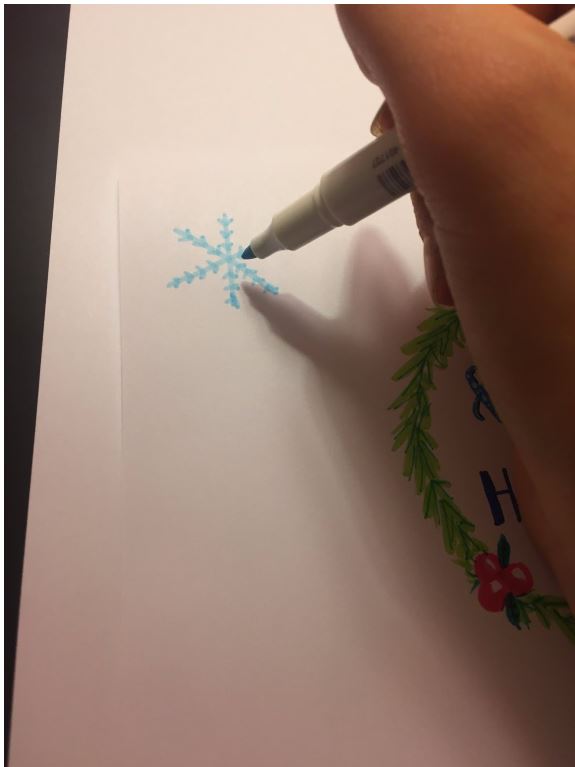
Add snowflakes around the wreath to fill up the empty space.
Tip: draw an “x” with a line down the middle to get an easy snowflake shape.
Step 8.
Open the card to begin designing the inside.
Tip: If you’re worried about the ink from the front cover bleeding onto the message space, place a sheet of paper in between the card before decorating.
Step 9.
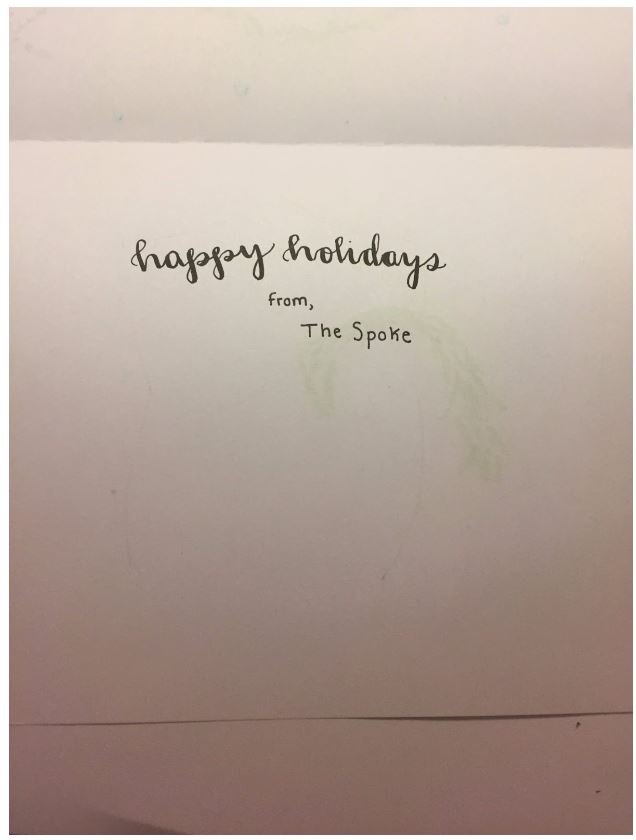
The easy part: write a message on the inside of the card.
Tip: Use the fancy lettering from earlier to add emphasis on a certain part of your message.
Step 10.
Add a border. This can be done with fancy loops in a different color than the message.

Step 11.
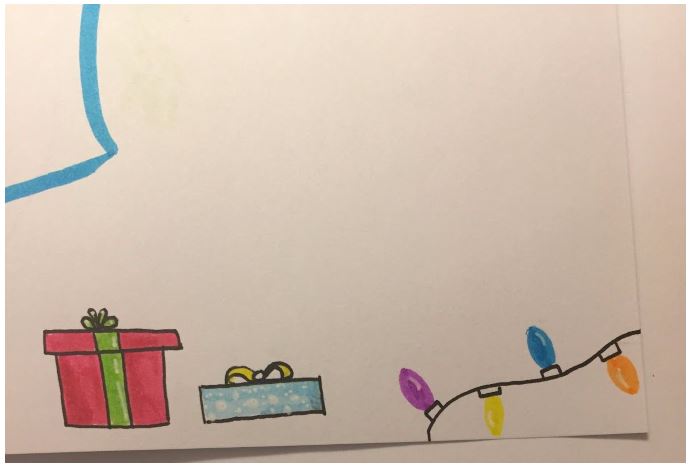
Add little doodles in the corners of the card to give it more flavor. Easy things to draw would be presents, cookies, and snowmen.
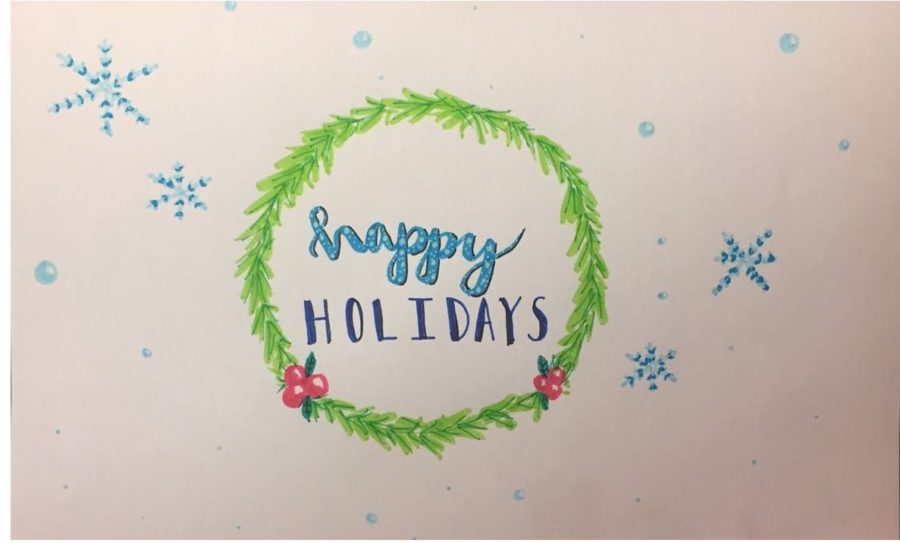
Step 12: Congratulations! your beautiful holiday card is finished. Feel free to incorporate your own style and add any other details that please you!